When you start with 3D printing, it is important to be prepared to learn and face some challenges. The learning curve can be steep, but with the right information and best practices, you can start with confidence. In this section, we will discuss the first steps after assembling the printer, including using a slicer and the importance of understanding the Gcode. We will also cover printer calibration, explaining the X, Y, and Z axes, and how to level the heated bed.
Main points covered in this section:
- The use of a slicer to prepare the 3D files for printing.
- The importance of understanding the Gcode and its role in 3D printing.
- The printer calibration process, including explanation of the X, Y, and Z axes.
- How to level the heated bed to ensure accurate printing.
Now that you know what to expect from this section, let's dive into the details and begin your journey into 3D printing for beginners. Let's go!
What is 3D Printing?
A 3D printing, also known as additive manufacturing or rapid prototyping, is a revolutionary technology that is transforming the way three-dimensional objects are created. In this process, successive layers of material are precisely deposited to build the desired object according to a previous digital model.
3D printing has a wide variety of applications, from producing prototypes and on-demand parts to manufacturing custom products. It can also be used to create works of art and even functional human organs.
A additive manufacturing offers numerous advantages over traditional production methods. It allows greater design freedom, reduced costs and production time, in addition to enabling the production of complex objects with precise details.
3D printing is becoming increasingly accessible, with the price of printers decreasing and the availability of materials and software increasing. This has driven the adoption of technology in several sectors, such as medicine, engineering, architecture and even the food industry.
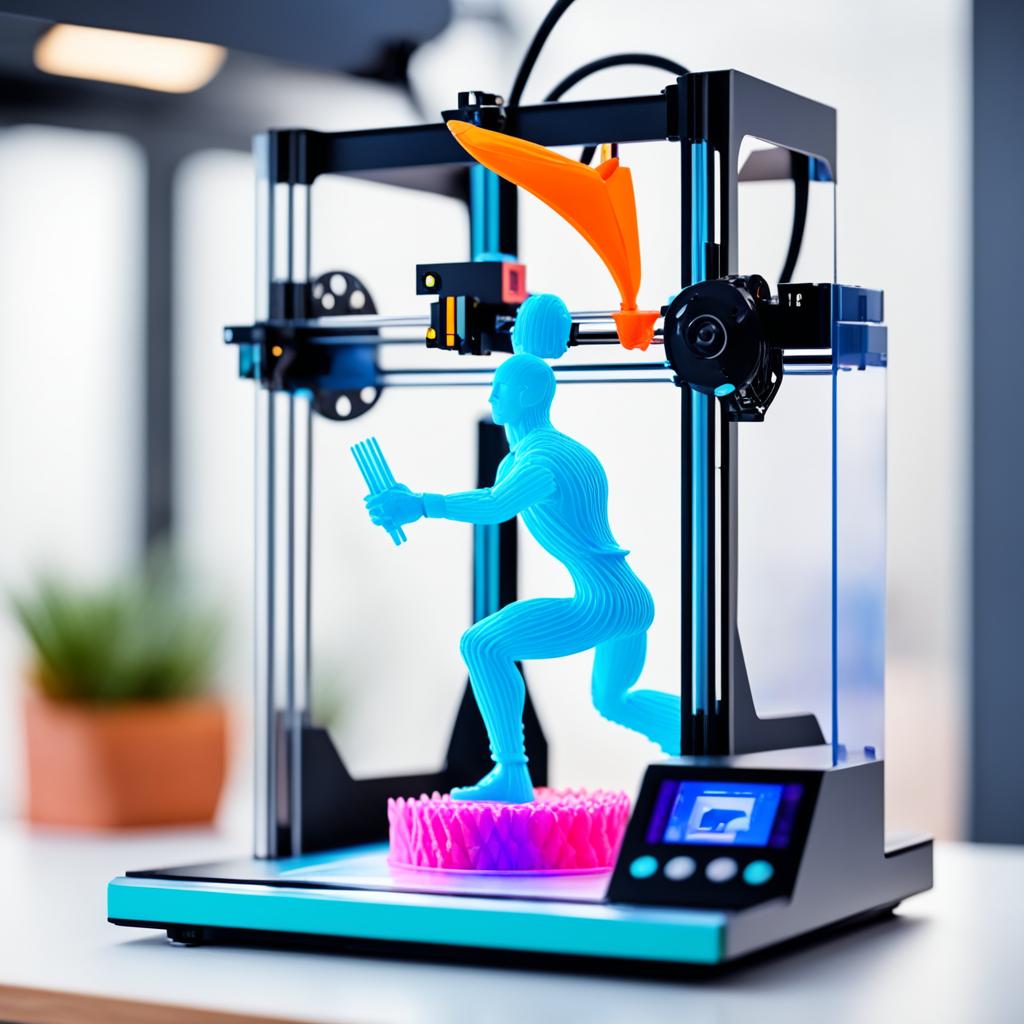
To better understand how 3D printing works, let's look at a visual representation of the process:
Advantages of 3D Printing:
- Design flexibility
- Reduction of production costs
- Customized production
- Prototyping speed
- Reduction of material waste
- Ease of producing complex objects
3D Printing Applications:
- Rapid prototyping
- Spare parts manufacturing
- Architecture and interior design
- Medicine and dentistry
- Automotive industry
- 3D printed cooking and food
3D Printing Challenges:
- Printing time
- Quality and precision of printed objects
- Initial cost of 3D printers
- Creation and optimization of 3D models
- Limitations of available materials
The First Steps in 3D Printing
After assembling your 3D printer, it's time to take the first steps. One of the first steps is to use a slicer, a software responsible for converting 3D files into layers that the printer can read and print. Furthermore, it is important to understand the Gcode, a programming language that instructs the machine to move geometrically in three dimensions. Understanding how to use the slicer and Gcode is essential to starting your first 3D prints successfully.
See too:
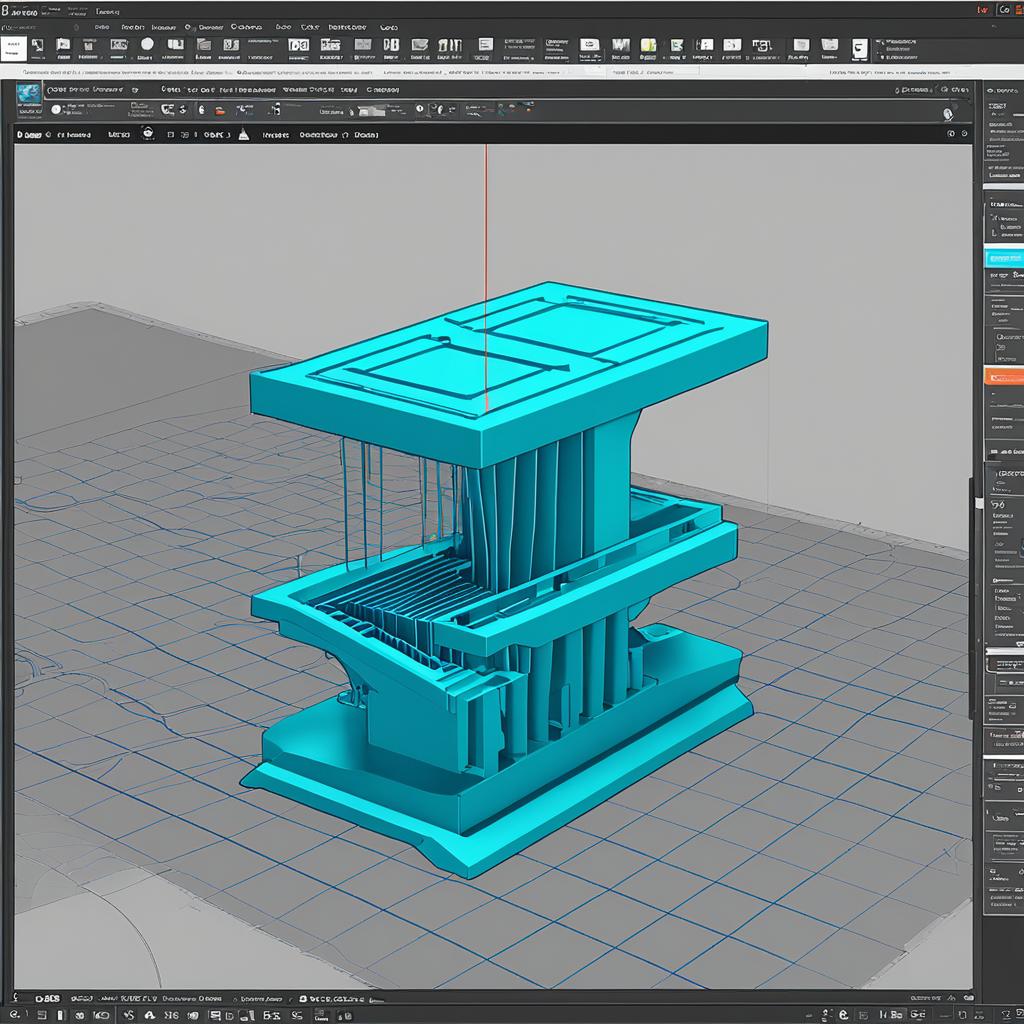
One slicer It is a fundamental part of the 3D printing process. It divides the 3D model into several thin slices, which are printed in sequence to form the final object. The slicer also sets print settings such as resolution, print speed, and internal padding of the object.
There are several slicing software options available, such as Cura, Slic3r and Simplify3D. These programs allow you to adjust print settings according to your needs and offer advanced features such as automatic supports and print time optimization.
After slicing the model, you need to convert the information into commands that the printer can understand. That's where the Gcode. This specific programming language for 3D printing is responsible for instructing the printer on the movements it should make. Gcode defines parameters such as travel speed, extruder temperature and the position of the X, Y and Z axes.
It is important to understand Gcode to be able to optimize your 3D prints. There are several online references that detail the most common commands and parameters used in Gcode. Over time, you will become familiar with these commands and can customize your prints to suit your preferences and needs.
“The slicer and Gcode are essential elements for the 3D printing process. Mastering these tools will allow you to create quality, personalized objects with your 3D printer.”
Now that you are familiar with using the slicer and understanding Gcode, you are ready to start your first 3D prints. Remember to practice and try different settings to get the best results. Over time, you will become more skilled at creating amazing, personalized objects.
Calibrating the 3D Printer
3D printer calibration is crucial to obtaining quality prints. It involves adjusting the X, Y, and Z axes to ensure the printer is level and ready to print. Calibration involves measuring and adjusting the rods of the X axis to ensure the height is equal on both sides. Furthermore, it is necessary to level the heated table, using screws and springs to adjust the height at each corner. These steps will ensure your printer is ready to print accurately.
| Steps for 3D Printer Calibration |
|---|
| Adjustment of the X, Y and Z Axes |
| Leveling the Heated Table |
Calibration Hub and Belt Adjustment
After calibrating the printer, it is important to test the print quality. One calibration cube it is a simple object that can be printed to verify that the printer is producing parts accurately. Additionally, it is important to check and adjust the printer belts to ensure they are tensioned correctly. Belts are responsible for the movement of the X and Y axes, and proper adjustment is essential for accurate printing.
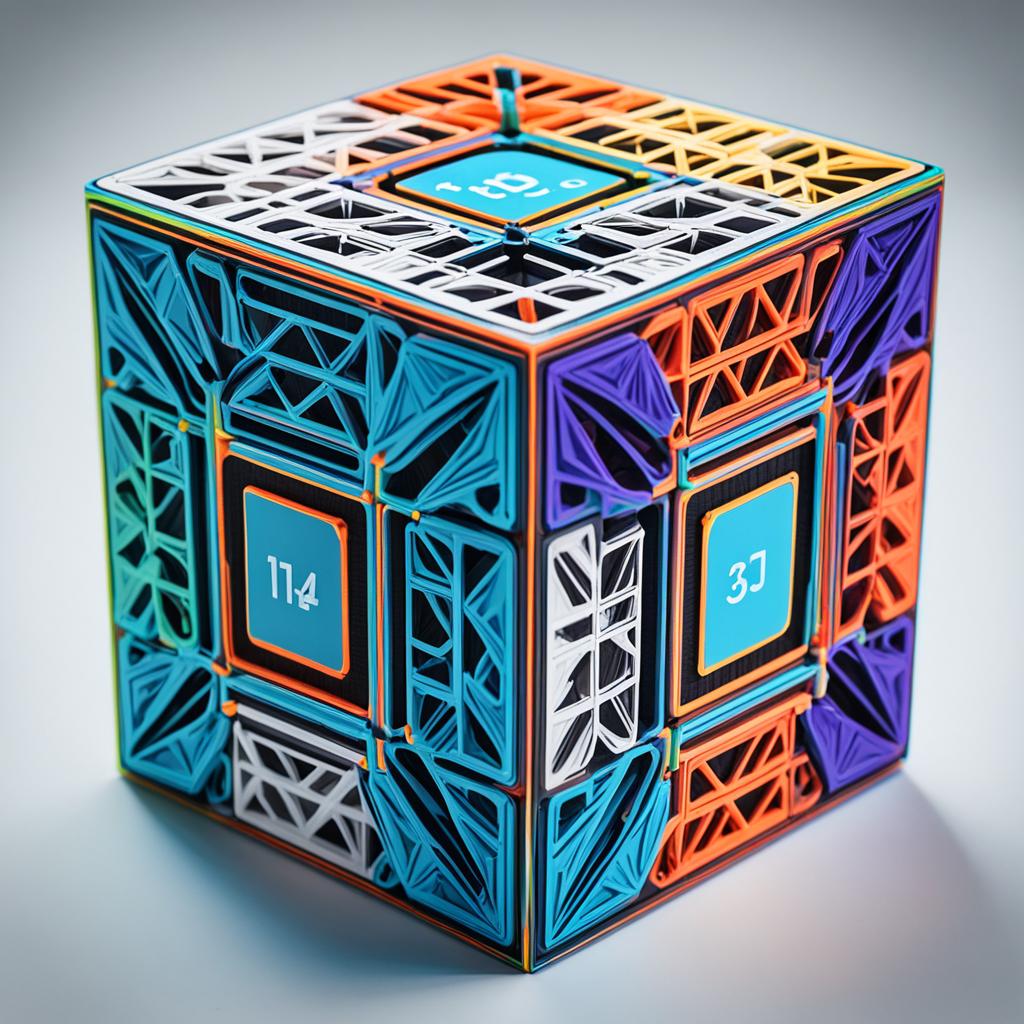
When printing a calibration cube, you will be able to assess whether the dimensions are correct and whether there is any misalignment in the layers. This can be done by comparing the dimensions of the printed cube to the dimensions of the original digital model.
Additionally, it is important to check and adjust the printer belts. Belts play a crucial role in the movement of the printer's X and Y axes. If they are loose, they can cause accuracy problems and misalignment in prints. On the other hand, if they are too tense, they can create excessive wear on the pulleys and bearings.
To adjust the belts, you will need to locate the belt tensioners on your printer. These tensioners allow you to adjust the tension of the belts accordingly. Follow the manufacturer's instructions to make the adjustment correctly.
Once calibration cube has been printed and the belts are adjusted correctly, you are ready to make high-quality prints with your 3D printer.
Conclusion
In this 3D Printing tutorial, we start with the first steps, exploring using a slicer and understanding Gcode. Next, we cover the importance of printer calibration, including adjustments to the X, Y, and Z axes, as well as leveling the heated bed.
We also discuss the relevance of adjusting printer belts and choosing suitable materials for your prints. With this information, you are prepared to begin your 3D Printing journey, applying best practices and trying new techniques as you gain experience.
Enjoy the learning process and feel confident as you explore the world of 3D Printing. With dedication, you will be able to create incredible pieces and turn your ideas into reality!


